- Mission #1: Gather Your Tools
- Mission #2: Build Evernote Notebooks
- Mission #3: Email Notes to Evernote
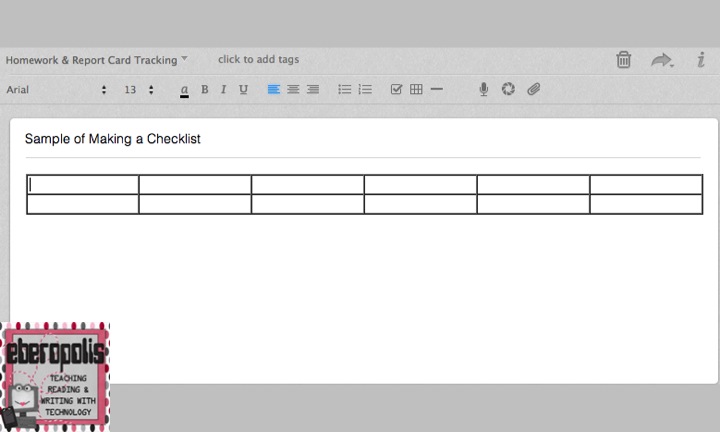
- Mission #4: Create Checklists in Evernote
Also be sure to link up at the Go Paperless! linky.

Mission #5: Organize Your Files in DropBox
I routinely work off of multiple computers and devices. I have a desktop computer in my classroom, a work laptop, a work iPad, a home desktop, a personal iPad, and an iPhone, and from time to time, I'll use someone else's computer for something. Few things have frustrated me more than being on a computer and realizing that the file that I worked on was saved to another device and therefore unavailable. Flash drives got me by for a little while, but then there were always issues about remembering to save it to my computer and my flash drive, and if I changed something on one device, I'd need to remember to update the files on other devices. There was always a bit of paranoia, too, about whether the drive would get corrupted and everything on it lost. It just wasn't a good system for me.
Enter DropBox. I started using this platform a few years ago, and it has revolutionized how I manage my files. DropBox is an online file hosting platform. A basic (free) account gives you 2GB of storage with opportunities to earn up to 16 GB through referrals and social networking. There is also a paid version that gives you 100 GB for $9.99/month or $99/year. There are 200 GB and 500 GB paid versions as well, but that's far beyond my needs. I haven't even upgraded to a paid account yet!
 Once you sign up for an account, you can download a version of DropBox to your computer that will automatically sync any files you save to it to your DropBox account online. From there, you can access your files from any computer or device with DropBox installed (there's an app version) or from any internet connection by signing in at www.dropbox.com.
Enter DropBox. I started using this platform a few years ago, and it has revolutionized how I manage my files. DropBox is an online file hosting platform. A basic (free) account gives you 2GB of storage with opportunities to earn up to 16 GB through referrals and social networking. There is also a paid version that gives you 100 GB for $9.99/month or $99/year. There are 200 GB and 500 GB paid versions as well, but that's far beyond my needs. I haven't even upgraded to a paid account yet!
How I Use It
Over the last few years, I've moved almost all of my documents over to DropBox. Here are some examples of the types of things I keep there:
- Curriculum documents - standards, pacing guides, state frameworks, etc
- e-Books/supporting documents for textbook series
- TpT creations and purchases
- Assessments and activities
- Clip Art Collections
- Guided Reading resources
- Photos
- Desk Drawer folder - for all of the electronic stuff I would otherwise file in my desk
- Much, much more!
I like having my stuff there for a variety of reasons:
1. Accessibility - no more worrying if something is on another computer or if I have the flash drive.
2. Back-up - since it's all stored in the cloud, I don't live in fear of a major computer meltdown. If my computer goes on the fritz, I'll still be able to get all of my stuff.
3. Constant syncing - If I'm working on a project on my laptop at school (which has DropBox installed), I can come home and switch to my desktop which also has DropBox. DropBox notices when you alter a document, and it will automatically sync those changes to your files across all of the devices as long as you have an internet connection.
Evenote vs. DropBox
Evernote and DropBox obviously figure heavily in my paperless scheme, and it's definitely the case that there's some overlap between their features. I could, for example, save documents and attachments in Evernote Notebooks. But I think of Evernote as the replacement for my data and curriculum binders -- the place where I can put documents that I'm likely to need constantly and an archive of assessments. It's also a place for work that I'm annotating and evaluating. DropBox is more like my filing cabinet for all of the great activities I might need from time to time. I might pull something out and work on it, but it's more for storage.Your Assignment
Make sure that you have a DropBox account. (If you haven't already signed up for DropBox, please use my referral link. We'll both get 500 MB of extra space!) Download the DropBox client on the computer(s) you use most, and begin to backup your files to DropBox. Empty out those flash drives and folders you have so you can get all of your work in one spot. Think of how you'll want to name your folders -- especially if you're consolidating documents from a variety of places. But getting your DropBox set up and ready to go will be a necessary step before your next mission on using GoodReader.
How's your move toward paperless going? I'd love to hear your updates in the comment section!